Inspection Tasks
The initial dashboard view will prompt the user to perform any inspections that are due or overdue.
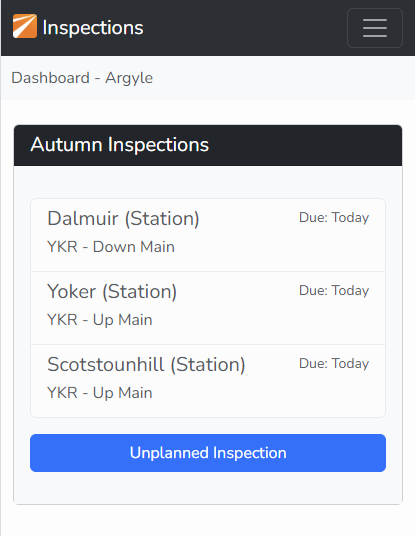
Inspection Dashboard
Autumn InspectionsWhen the App opens you will be given a list of Locations that are due to be inspected.
Any overdue locations are highlighted Red.
Simply tap on the Location that you are going to Inspect.
If the location you want is not shown there's two possibilities;
TIP: you can return to the view at any time by tapping on the Network Rail icon at the top-left. |
|
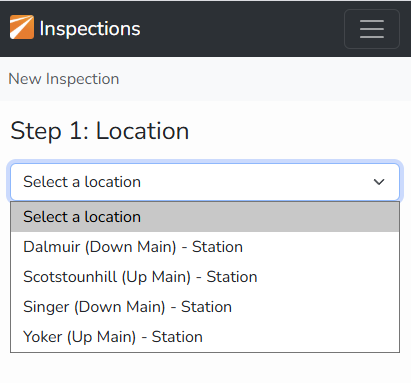
Manually Select Location
Having clicked "Unplanned Inspection" you can select from the full set of Locations managed by your Team.
NOTE: "Singer" is not shown above because there was an inspection today already.
NOTE: you can submit as many inspections as you need. If you were not happy with an inspection for any reason, just put it in again. |
|
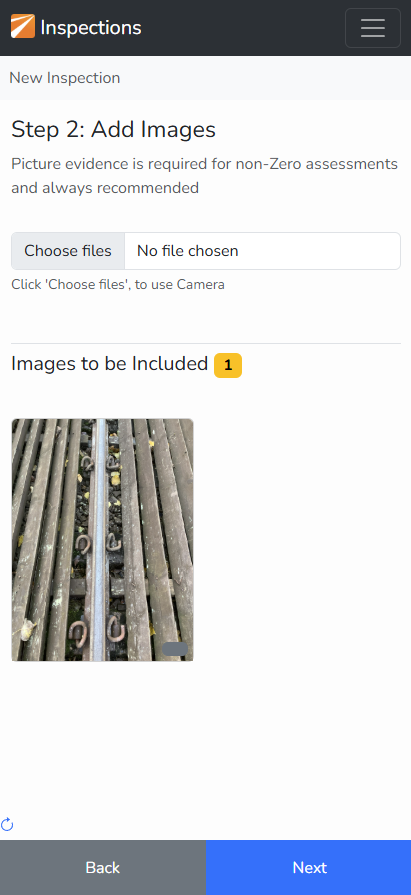
Add Images
|
Click on "Choose files" and select the evidence you wish to include with the inspection.
A preview of the selected images is shown.
Click 'Next' once you added all the images.
TIP: it is recommended to take pictures in the normal way before starting the App. Then retire to a safe location where you have good mobile data signal. |
|
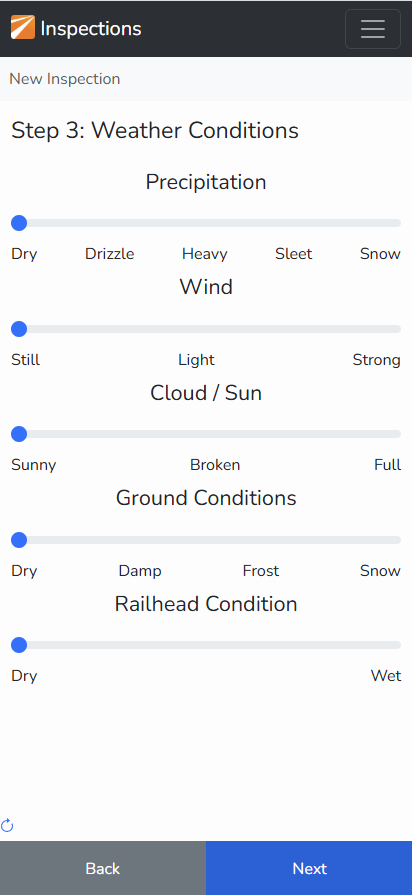
Weather Report
|
Complete the Weather report using the slider to select the appropriate conditions at the time of your inspection.
Click 'Next' once all are set correctly. |
|
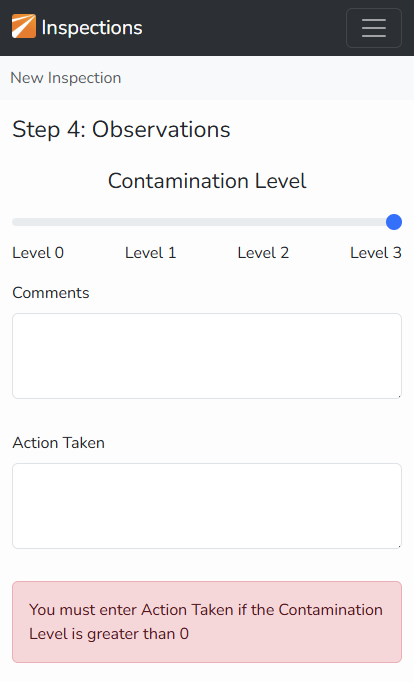
Observations and Evaluation
|
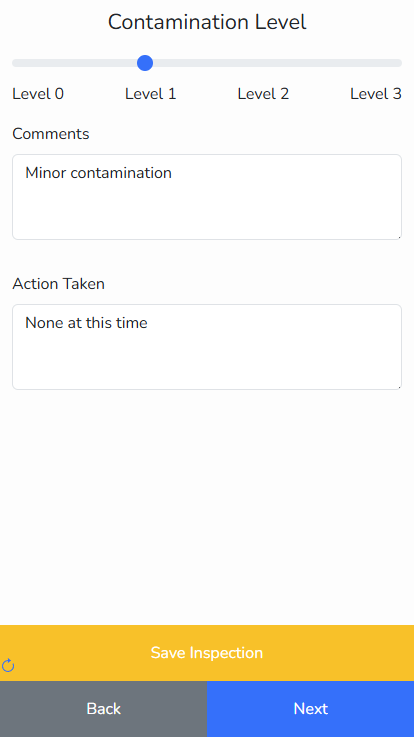
The final step is to give your evaluation of the Contamination Level.
If the Contamination Level is Level 1 or above you must include an image, Comments and the Action Taken fields.
|
|
Save Inspection
Once all the required data is complete the "Save Inspection" button will appear.
You can use the Next / Back buttons if you want to change anything on the previous pages. |
|
|
You will see this view when the Inspection is saved correctly.
Click on "Start New Inspection" to start over with a new Location. |
|